728x90
우선 아래 처럼 DevExpress dll 을 프로젝트에 참조 추가한다.

DevExpress 컨트롤을 이용해서 Waiting/Progress Dialog 띄우기 위해 UserControl 로 나타낼 화면을 만든다.
WaitIndicatorPopup.xaml
<UserControl
    x:Class="DevWaitIndicatorTest.WaitIndicatorPopup"
    xmlns="http://schemas.microsoft.com/winfx/2006/xaml/presentation"
    xmlns:x="http://schemas.microsoft.com/winfx/2006/xaml"
    xmlns:d="http://schemas.microsoft.com/expression/blend/2008"
    xmlns:dx="http://schemas.devexpress.com/winfx/2008/xaml/core"
    xmlns:mc="http://schemas.openxmlformats.org/markup-compatibility/2006"
    d:DesignHeight="450"
    d:DesignWidth="400"
    mc:Ignorable="d">
    <Grid>
        <dx:WaitIndicator
            Panel.ZIndex="100"
            Content="{Binding State}"
            DeferedVisibility="true">
            <dx:WaitIndicator.ContentTemplate>
                <DataTemplate>
                    <StackPanel Orientation="Vertical">
                        <TextBlock FontSize="20" Text="Please Wait" />
                        <TextBlock Text="{Binding}" />
                    </StackPanel>
                </DataTemplate>
            </dx:WaitIndicator.ContentTemplate>
        </dx:WaitIndicator>
    </Grid>
</UserControl>
이제 위 UserControl 를 이용해 Waiting Dialog 를 띄워보자
DXSplashScreen 을 이용해 띄우면 되는데 아래 처럼 사용한다.
DXSplashScreen.Show<WaitIndicatorPopup>();

for (int i = 1; i <= 5; i++)
{
    DXSplashScreen.SetState(i * 20 + "%");
    Thread.Sleep(500);
}

DXSplashScreen.Close();
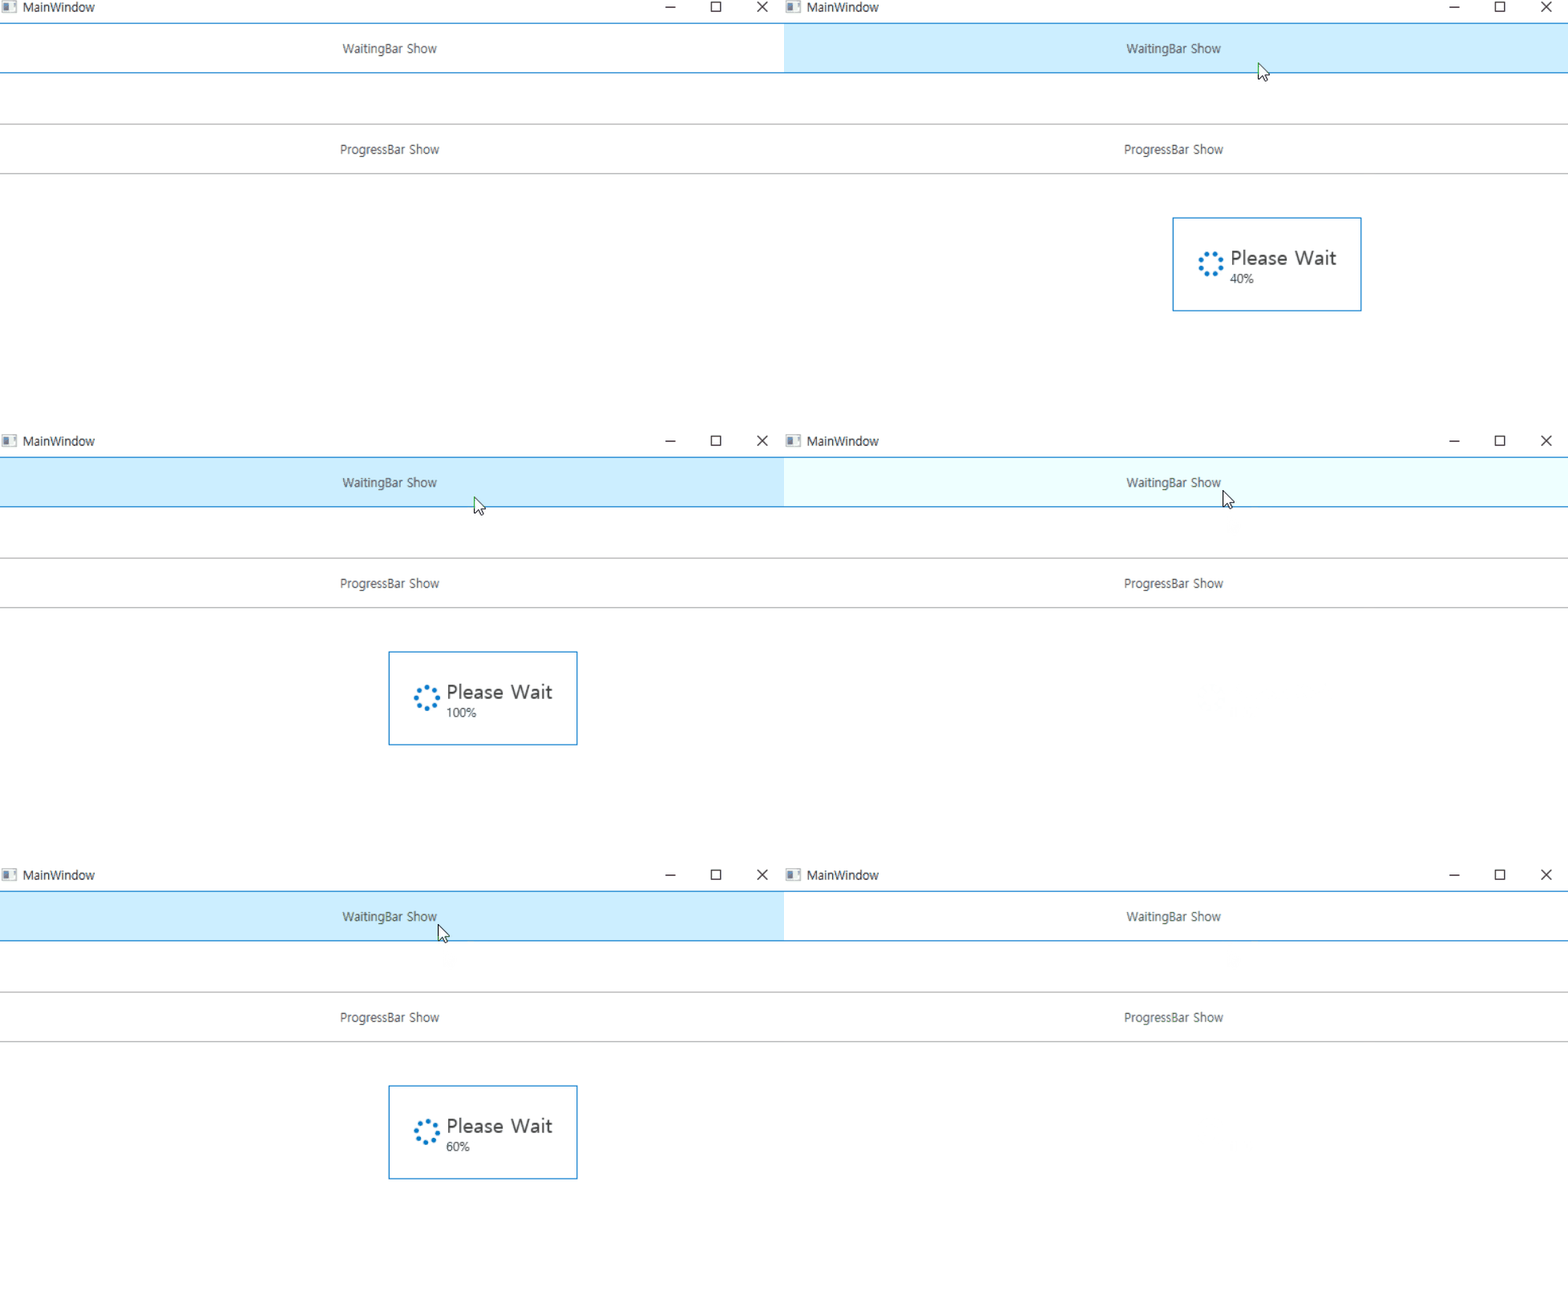
결과

xaml 단에서 {Binding State} 항목은 코드단의 DXSplashScreen.SetState("10%"); 로 설정한 문자열이 바인딩된다.
Progress Dialog 는 UserControl 을 아래 처럼 정의한다.
<UserControl
    x:Class="DevWaitIndicatorTest.ProgressBarPopup"
    xmlns="http://schemas.microsoft.com/winfx/2006/xaml/presentation"
    xmlns:x="http://schemas.microsoft.com/winfx/2006/xaml"
    xmlns:d="http://schemas.microsoft.com/expression/blend/2008"
    xmlns:mc="http://schemas.openxmlformats.org/markup-compatibility/2006"
    d:DesignHeight="450"
    d:DesignWidth="800"
    Background="SkyBlue"
    mc:Ignorable="d">
    <Grid
        x:Name="LayoutRoot"
        HorizontalAlignment="Center"
        VerticalAlignment="Center">
        <Grid
            x:Name="Splash"
            Width="300"
            Margin="0"
            HorizontalAlignment="Center"
            VerticalAlignment="Top">
            <Grid x:Name="Back">
                <Border
                    Background="Black"
                    CornerRadius="3"
                    Opacity="0.15" />
                <Border
                    Margin="1"
                    Background="LightBlue"
                    CornerRadius="2" />
            </Grid>
            <Grid x:Name="Content_Area" Margin="5">
                <Grid.RowDefinitions>
                    <RowDefinition Height="Auto" />
                    <RowDefinition Height="*" />
                </Grid.RowDefinitions>
                <TextBlock
                    x:Name="Info"
                    Margin="5,5,5,0"
                    Foreground="#FF2D2D2D"
                    Text="{Binding State}"
                    TextWrapping="Wrap" />
                <ProgressBar
                    x:Name="progressBar"
                    Grid.Row="1"
                    Height="12"
                    Margin="5"
                    IsIndeterminate="{Binding IsIndeterminate}"
                    Maximum="{Binding MaxProgress}"
                    Value="{Binding Progress}" />
            </Grid>
        </Grid>
    </Grid>
</UserControl>
이제 위 UserControl 를 이용해 Progress Dialog 를 띄워보자
DXSplashScreen.Show<ProgressBarPopup>();

for (int i = 1; i <= 5; i++)
{
    DXSplashScreen.Progress(i * 20, 100);
    DXSplashScreen.SetState(i * 20 + "%");
    Thread.Sleep(500);
}

DXSplashScreen.Close();
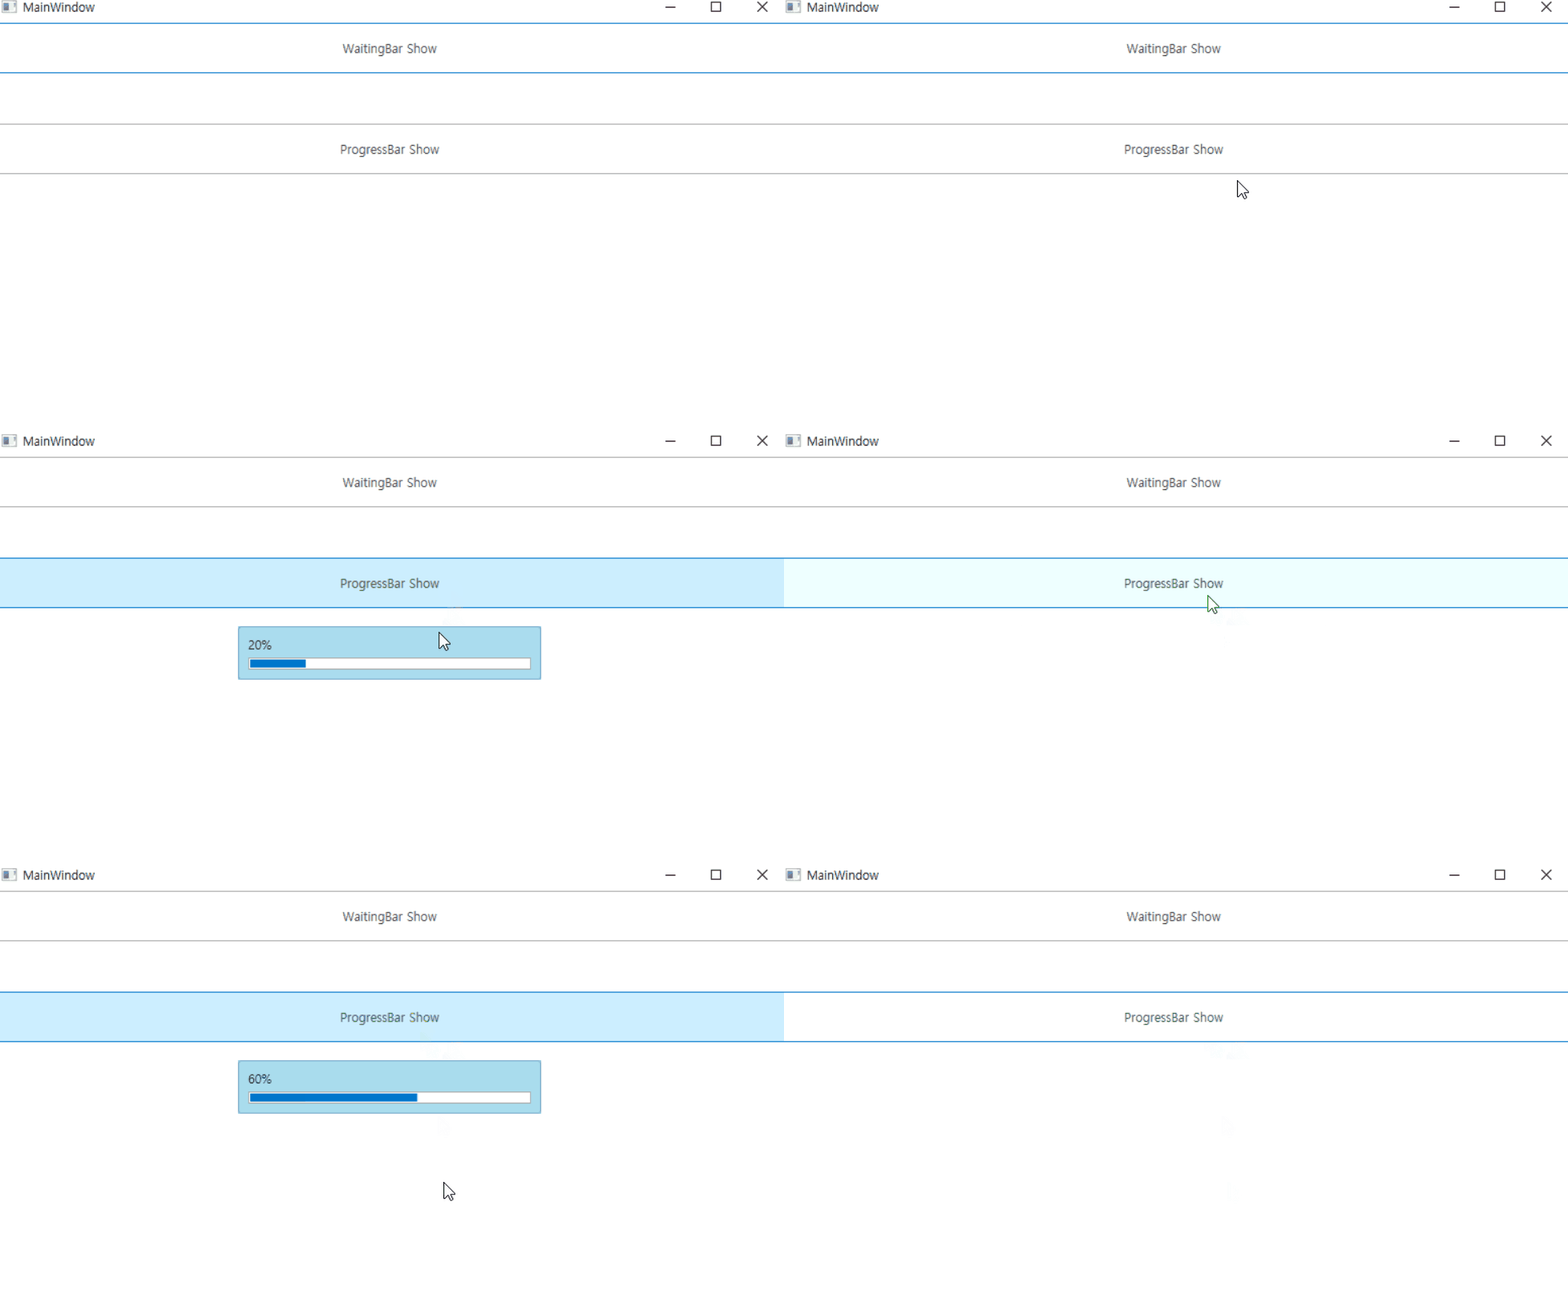
결과

소스
728x90
'C# > WPF' 카테고리의 다른 글
| [WPF] ComboBox Command Binding 하기 (0) | 2022.04.15 |
|---|---|
| [WPF] Action 비동기 수행하기 (0) | 2022.04.01 |
| [WPF] Command snippet (자작) (0) | 2021.12.16 |
| [WPF] Control to Image (0) | 2021.12.14 |
| [WPF] ImageSource 를 jpg 로 저장하기 (0) | 2021.12.03 |
